Perfore previamente pequeños agujeros en el centro de los óvalos, luego fije la pieza de plástico con dos tornillos cortos; déjelos un poco sueltos por ahora (afinará los tornillos más adelante).alineación de cajonespróximo).Paso 4: Ajuste la alineación del cajón y asegure la piezaAhora prueba elmecanismo de cierre suaveDeslizando el cajón hacia adentro y hacia afuera varias veces. Si se atasca o no cierra suavemente, ajuste la pieza de plástico usando los orificios ovalados; aquí es dondealineación de cajonesse vuelve preciso:Si es demasiado alto: afloje ligeramente los tornillos, empuje la pieza de plástico hacia abajo y luego vuelva a apretarla.Si está demasiado bajo: Levante la pieza y vuelva a apretarla.
Una vez que elguías para cajonessuavemente y elmecanismo de cierre suavefunciona, agrega el tercer tornillo corto al orificio central de la pieza de plástico: esto lo fija en su lugar.alineación de cajonesQueda perfecto. Recuerda, no aprietes demasiado, ya que podrías dañar el cajón o la pieza.Paso 5: Pruebe elMecanismo de cierre suavey solucionar problemas comunesAhora viene la parte divertida: ¡cierra el cajón! Si se cierra de golpe en lugar de suavemente, no te asustes, es el error más común. El soporte metálico viene de fábrica en la posición "cerrado", así que primero debes abrirlo manualmente. Saca el cajón, introduce la mano y empuja la pequeña palanca del soporte hacia atrás; oirás un pequeño clic cuando esté abierto. Inténtalo de nuevo: suave y silencioso, tal como querías.Si el cajón se sale de lamecanismo de cierre suave
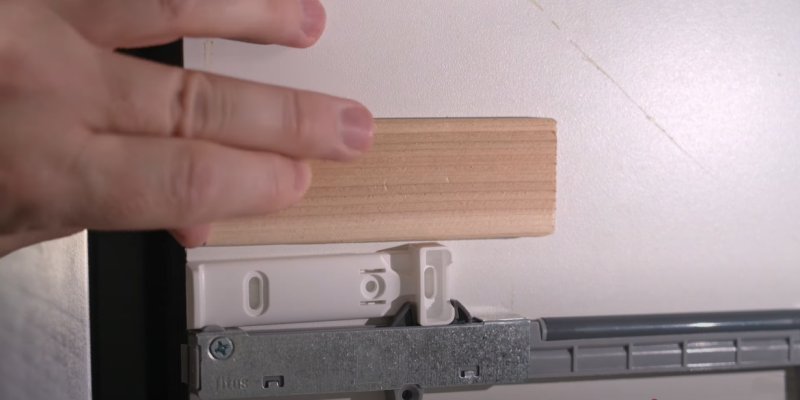
Cuando lo abras, tucorrederas de cajónPodría tener holgura adicional (el cajón se mueve hacia arriba y hacia abajo). Repárelo con un pequeño trozo de madera (de 10 a 15 mm de grosor, de aproximadamente 0,6 a 0,9 cm). Móntelo dentro del armario, justo encima del soporte metálico; esto evita que el cajón se levante y se salga. Taladre previamente, atorníllelo y compruebe que...
mecanismo de cierre suaveFuncionará perfectamente ahora.Veredicto final
Estemecanismo de cierre suaveCambié mi cocina: no más portazos matutinos que despiertan a los niños, no más desgaste en mi
herrajes para gabinetes, y así fueFácil de instalar
El único pequeño inconveniente: hay un poco de resistencia adicional cuando abres el cajón (desde el
mecanismo de cierre suave
), pero no es nada que notarás después de uno o dos días.Resumen rápido del éxitoUsar
correderas para cajones de montaje lateral.Perfore previamente para evitar que se parta.Tómate tu tiempo conalineación de cajones
.Abra el soporte antes de realizar la prueba.Utilice restos de madera para los cajones sueltos.
¿Ya probaste esto? ¿Tienes preguntas?correderas de cajón,
mecanismo de cierre suavekits, oFicgoal
's
herrajes para gabinetes
Deja un comentario. ¡Me encantaría ayudarte!
Pro tip: Don't mix up the screws! The long ones are designed to grip the thick cabinet wood without splitting it, while the short ones keep the plastic piece secure without drilling through the drawer. This little detail protects your cabinet hardware and drawer from damage.
Step 1: Remove the Drawer from the Drawer Slides
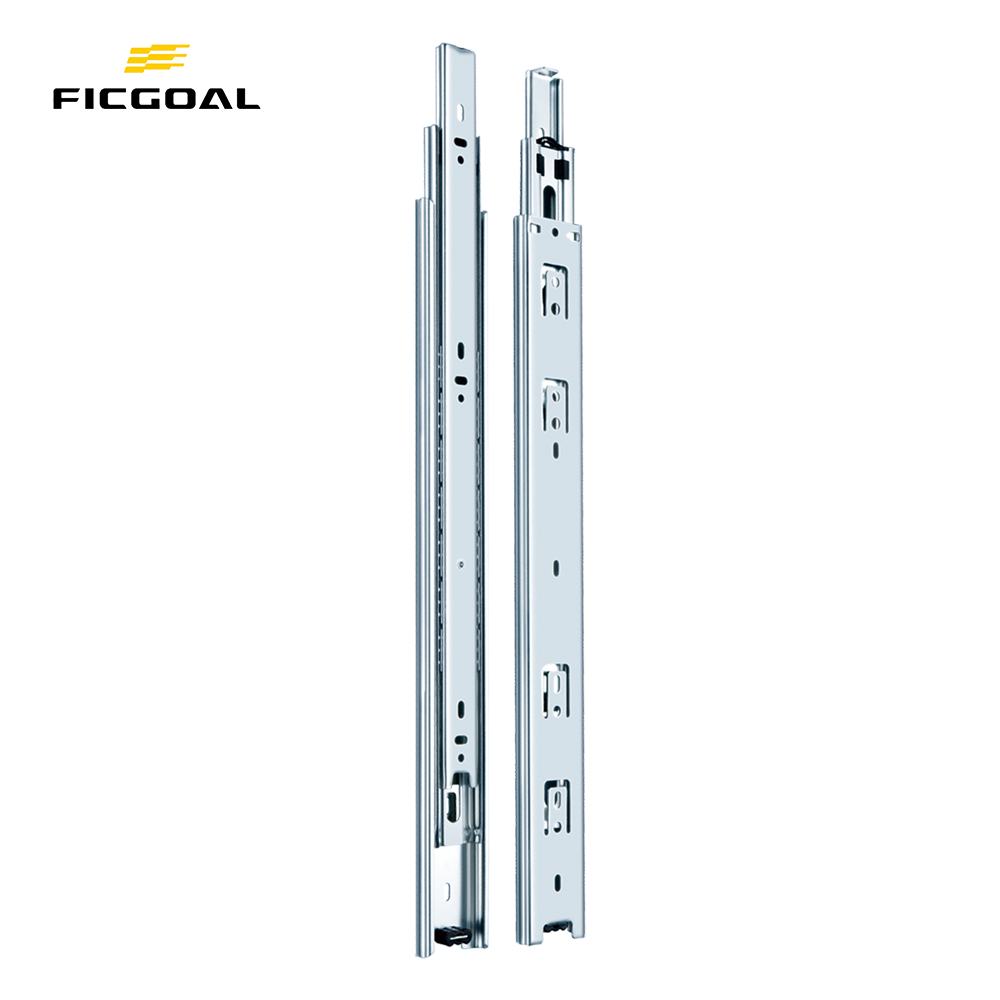
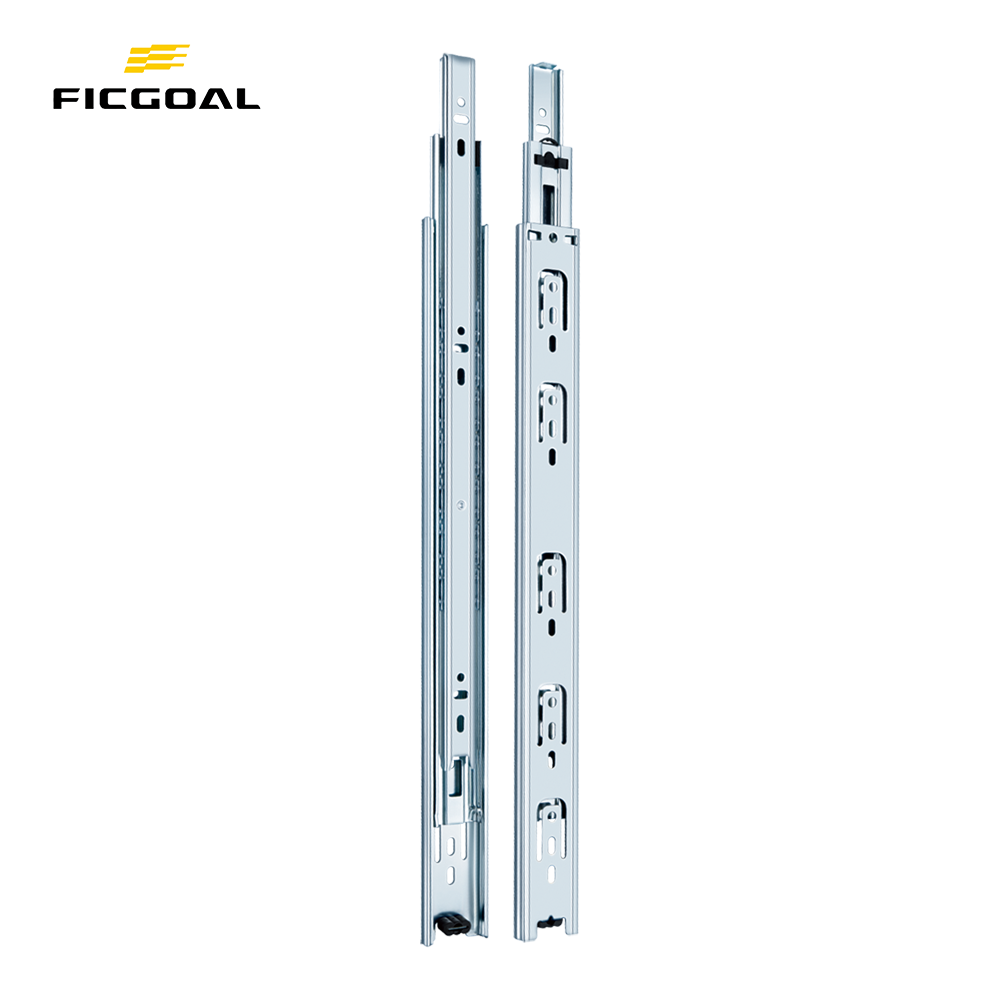
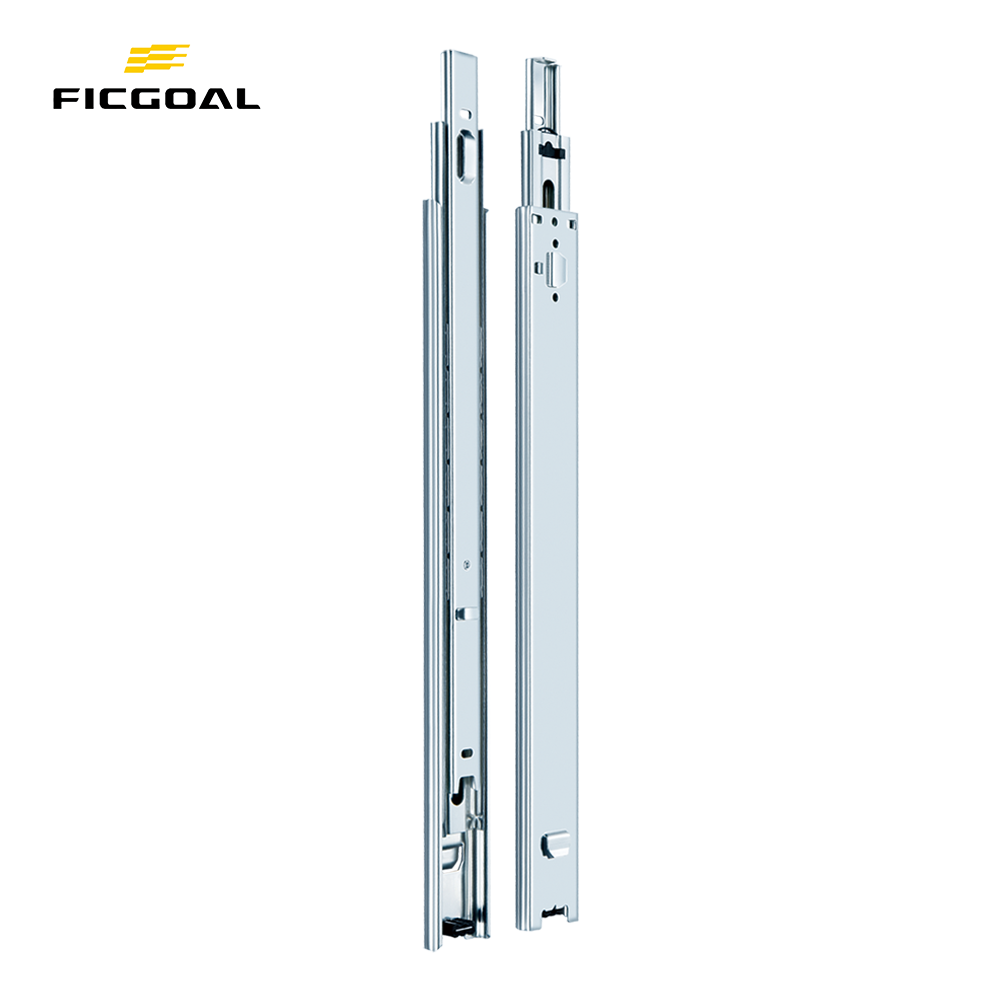
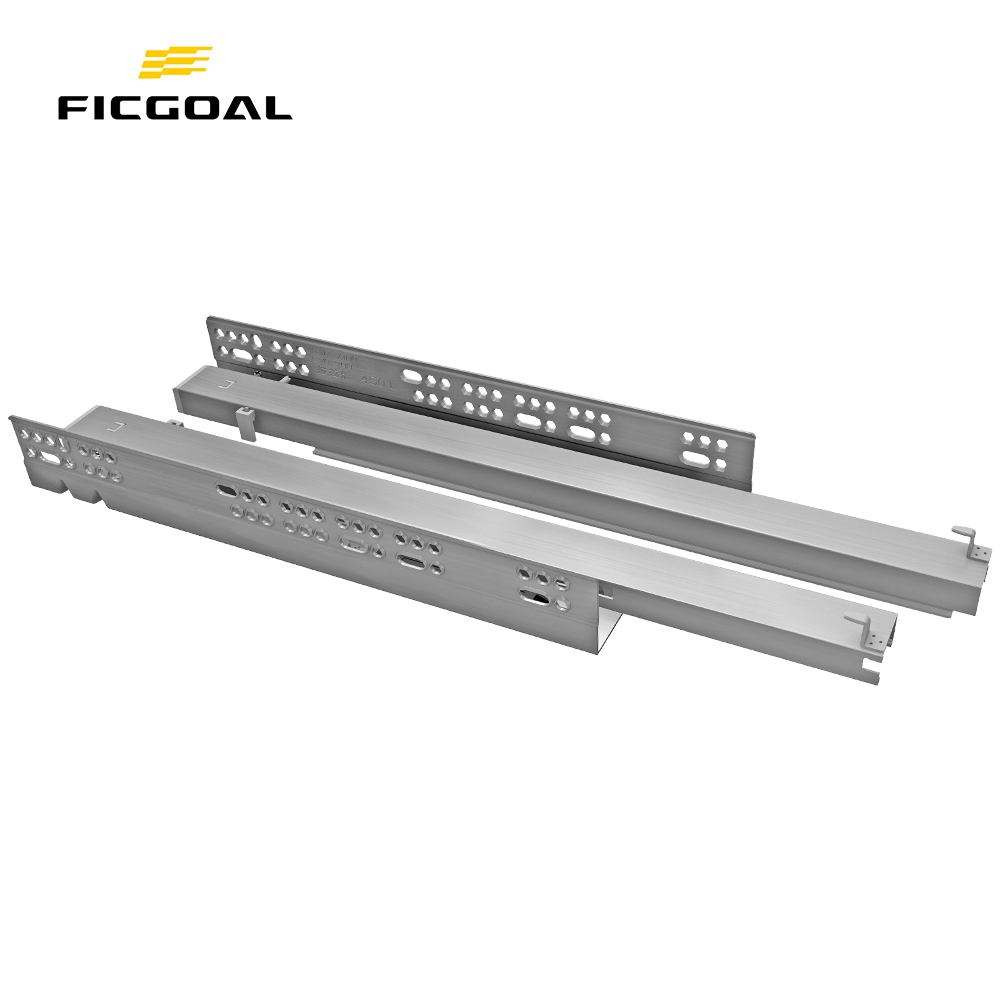
First, open the drawer fully--you need to access the drawer slides clearly. Then lift the drawer slightly (about an inch) and pull it out,most modern drawer slides let you do this without tools. The instructions say to empty the drawer, but you can skip that if it's not overly heavy (like a drawer with just utensils). Saves time, and as long as the drawer slides aren't strained, it's totally fine.
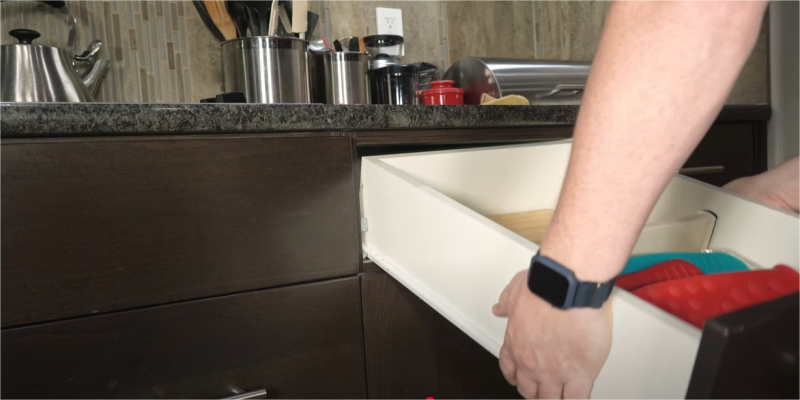
Step 2: Install the Cabinet Bracket on the Drawer Slide
The metal bracket needs to sit perfectly on your drawer slide—alignment here is key for the soft close mechanism to work. Here's how:
Slide the bracket onto the drawer slide (it should rest flat on top, no overhang on the sides).
Line up the front edge of the bracket with the front edge of the cabinet—use the small "ears" on the bracket's sides to keep it straight.
Pre-drill tiny holes with a small bit (this prevents wood splitting, which protects your cabinet hardware). Drill just a little way into the cabinet wall—no need to go all the way through.
Screw the bracket in with the long screws—tighten until snug, but not too hard (over-tightening strips holes, which ruins your cabinet hardware). Use the front upper and rear upper holes— the instructions specify these for a reason, so don't use other holes!
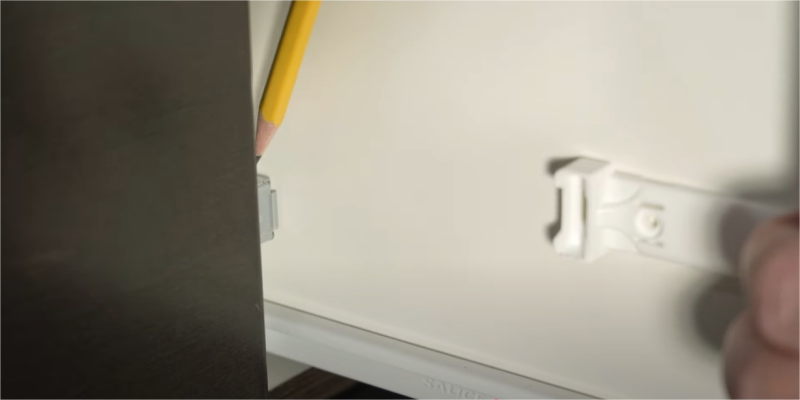
Step 3: Attach the Plastic Piece (Drawer Alignment Is Critical!)
This small plastic piece is what makes the soft close mechanism work—it "catches" the bracket when you close the drawer. So drawer alignment here is make-or-break. Follow these steps:
Hold the plastic piece against the side of the drawer (the same side as the cabinet bracket and drawer slide). Slide it forward until it hits the back of the drawer's front panel—this keeps it from shifting later.
Use two fingers (one on top, one on bottom) to hold it in place—this lets you adjust it up or down easily.
Slide the drawer partway into the cabinet (not all the way closed). You want the plastic piece to just barely touch the metal bracket—if it's too high or low, the soft close mechanism won't engage; if it's too tight, the drawer will stick. Take your time with drawer alignment—this step makes all the difference.
Mark the oval holes on the plastic piece with a pencil (these ovals let you fine-tuning later, so don't skip).
Pre-drill tiny holes in the center of the ovals, then attach the plastic piece with two short screws—leave them a little loose for now (you'll fine-tune drawer alignment next).
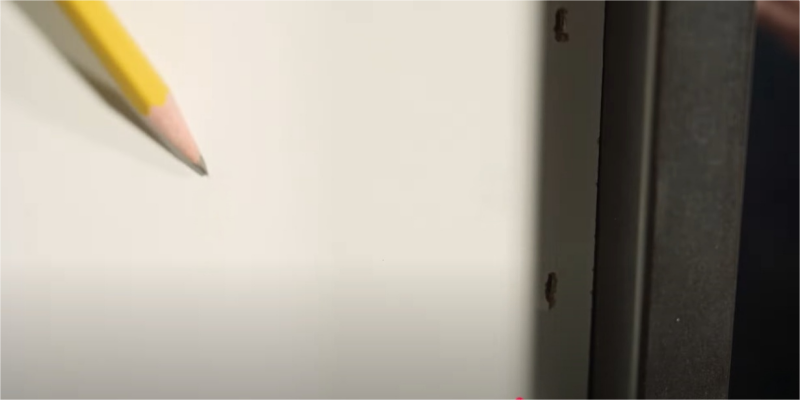
Step 4: Fine-Tune Drawer Alignment and Secure the Piece
Now test the soft close mechanism by sliding the drawer in and out a few times. If it sticks or doesn't close softly, adjust the plastic piece using the oval holes—this is where drawer alignment gets precise:
If it's too high: Loosen the screws slightly, push the plastic piece down, then retighten.
If it's too low: Lift the piece up and retighten.
Once the drawer glides smoothly and the soft close mechanism works, add the third short screw to the plastic piece's middle hole—this locks it in place so drawer alignment stays perfect. Again, don't over-tighten—you don't want to damage the drawer or the piece.
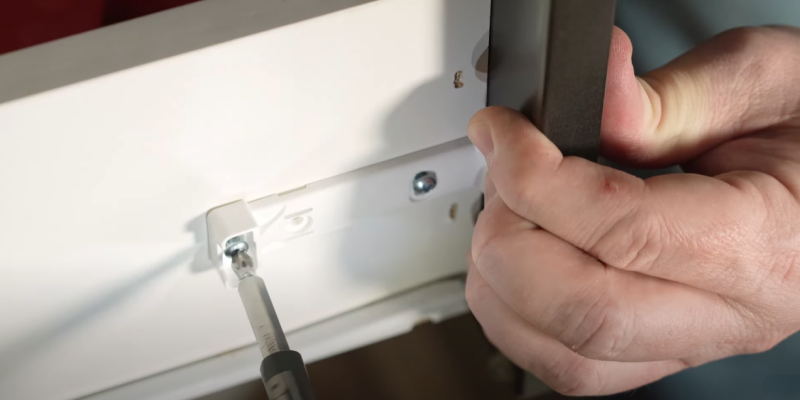
Step 5: Test the Soft Close Mechanism and Fix Common Issues
Now for the fun part—close the drawer! If it slams instead of closing softly, don't panic,that's the most common mistake. The metal bracket comes from the factory in the "closed" position, so you need to open it manually first. Pull the drawer out, reach inside, and push the small lever on the bracket back,you'll hear a tiny "click" when it's open. Now try again—smooth, quiet, just like you wanted.
If the drawer pops out of the soft close mechanism when you open it, your drawer slides might have extra play (the drawer wiggles up and down). Fix this with a small scrap of wood (10-15mm thick that about a quarter to three-eighths of an inch). Mount it inside the cabinet, right above the metal bracket—this stops the drawer from lifting and popping out. Pre-drill, screw it in, and test that your soft close mechanism will work perfectly now.
Final Verdict
This soft close mechanism changed my kitchen—no more early-morning slams waking up the kids, no more wear on my cabinet hardware, and it was so easy to install. The only tiny downside: there's a little extra resistance when you open the drawer (from the soft close mechanism), but it's nothing you'll notice after a day or two.

Quick Success Recap
Pre-drill to avoid splitting.
Take time with drawer alignment.
Open the bracket before testing.
Use scrap wood for loose drawers.
Tried this? Have questions about drawer slides, soft close mechanism kits, or Ficgoal's cabinet hardware? Drop a comment—I'm happy to help!


